Widget
Table of contents
The checkout widget displays the consumer’s payment schedule, and can be updated as the order total changes. It should be shown if the order value is going to change after the Afterpay Express checkout has finished. For example, the order total may change in response to shipping costs and promo codes. It can also be used to show if there are any barriers to completing the purchase, like if the customer has gone over their Afterpay payment limit.
An example ‘tokenless’ widget, with four payments of $50 adding to $200: 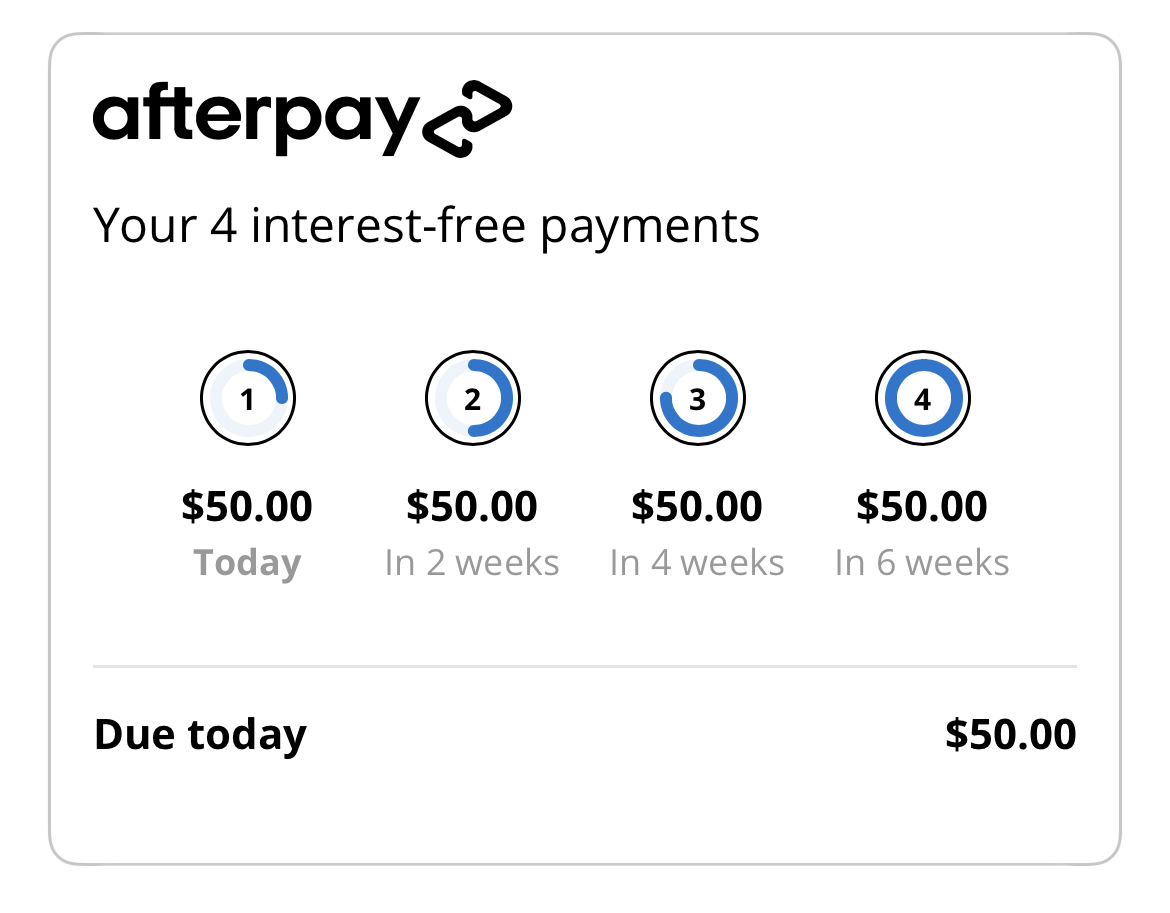
Presenting The Widget
The checkout widget is available via WidgetView, which is a UIView subclass. There are two initialisers. Which one you’ll use depends on if you are showing the widget before or after a checkout.
Internally, the web widget is rendered in WKWebView subview. It has an intrinsic content size which changes to fit the web widget. The WidgetView matches its intrinsic content height to the internal web widget’s height. The web widget is responsive and will fit any container with a minimum width of 300 pixels.
With Checkout Token
Use this mode after completing a checkout using the v2 Checkout feature. Take the token from the checkout’s result and provide it to this initialiser. The widget will use the token to look up information about the transaction and display it.
WidgetView.init(token:)
Tokenless
Use this mode if you want a WidgetView, but have not yet been through an Afterpay checkout. The amount parameter is the order total. It must be in the same currency that was sent to Afterpay.setConfiguration. The configuration object must be set before initialising a tokenless widget.
WidgetView.init(amount:)
Widget Options
The widget has appearance options. You can provide these when you initialise the WidgetView.
Both initialisers take an optional second parameter: a WidgetView.Style. The style type contains the appearance options for the widget. At the moment, the only options for Style are booleans for the logo and the header. By default, they are true.
WidgetView.init(amount: amount, style: WidgetView.Style(logo: false, heading: false))
The WidgetView’s border
Additionally, the WidgetView has a border and rounded corners. These are set on the WidgetView’s layer. You can adjust them, too, to fit in with your app’s design:
// make rounded corners less round
widgetView.layer.cornerRadius = 4

// change the color of the border
widgetView.layer.borderColor = UIColor.someOtherColor
Updating the Widget
The order total will change due to circumstances like promo codes, shipping options, et cetera. When the it has changed, you should inform the widget so that it can update what it is displaying.
You may send updates to the widget via its sendUpdate(amount:) function. The amount parameter is the total amount of the order. It must be in the same currency that was sent to Afterpay.setConfiguration. The configuration object must be set before calling this method, or it will throw.
widgetView.sendUpdate(amount: "50.00") // set the widget's amount to 50
Getting the Widget Status
You can also enquire about the current status of the widget. This is an asynchronous call because there may be a short delay before the web-backed widget responds. The completion handler is always called on the main thread.
(If you wish to be informed when the status has changed, consider setting a WidgetHandler)
widgetView.getStatus { result in
  // handle result
}
The result returned, if successful, is a WidgetStatus. This tells you if the widget is either in a valid or invalid state. WidgetStatus is an enum with two cases: valid and invalid. Each case has associated values appropriate for their circumstances.
valid has the amount of money due today and the payment schedule checksum. The checksum is a unique value representing the payment schedule that must be provided when capturing the order. invalid has the error code and error message. The error code and message are optional.
Widget Handler
If you wish to be informed when the status has changed, set up a WidgetHandler. WidgetHandler is protocol you can implement, and then provide your implementation to the Afterpay SDK with Afterpay.setWidgetHandler. The SDK will call your implementation when an event occurs.
For example:
final class ExampleWidgetHandler: WidgetHandler {

  func onReady(isValid: Bool, amountDueToday: Money, paymentScheduleChecksum: String?) {
    // The widget ready to accept updates
  }

  func onChanged(status: WidgetStatus) {
    // The widget has had an update.
  }

  func onError(errorCode: String?, message: String?) {
    // The widget has had an error
  }

  func onFailure(error: Error) {
    // An internal error has occurred inside the SDK
  }

}

final class MyViewController: UIViewController {

  let widgetHandler: WidgetHandler = ExampleWidgetHandler()

  init() {
    // ... snip ...

    // Do this some time before displaying the widget. Doesn't have to be in init()
    Afterpay.setWidgetHandler(widgetHandler)
  }

}
See the WidgetHandler protocol for a more detailed description of what gets called when and with what.
For iOS 13 or above, we provide a WidgetEventPublisher. It provides Combine Publishers for the WidgetHandler events:
let eventPublisher = WidgetEventPublisher()

eventPublisher.changed
  .sink(receiveValue: { status in /* respond to status */ })
  .store(in: &cancellables)